I switched out my chainring on my 1×10 setup, and realized that the largest cog that I added to increase the range of the set, was badly worn. It is disappointing that the RaceFace 32t ring and the e-Thirteen 42t were installed at the same time. While the chainring shows moderate wear, the 42t was trashed. I even tested with a chain stretch tool, and the chain is fine.
I saw that SunRace provides many aftermarket solutions for users of the normal 8 to 10 speed Shimano/SRAM freehubs. I also found the CSMS3 11-42 for the low, low price of $39 USD. I decided to go for it on price alone. While I have never used this manufacturers products before, It looked solid for the price. I have also been burned before by buying expensive parts that prematurely fail, or disintegrate on impact.
I have a non-XD freehub, and a SRAM X-7 Shifter and Deraileur. I will run through the quick install and review its performance. I do not go into detail about removing the wheel, and adjusting the derailleur. I did not have to adjust anything, but your experience may vary. Consult YouTube when in doubt.
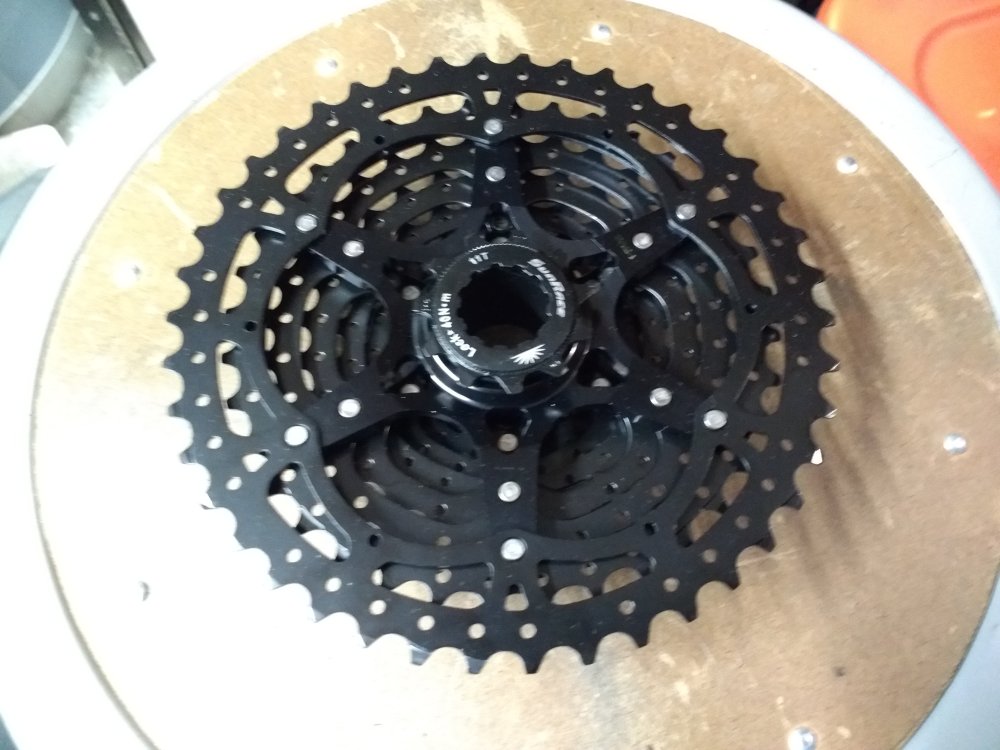
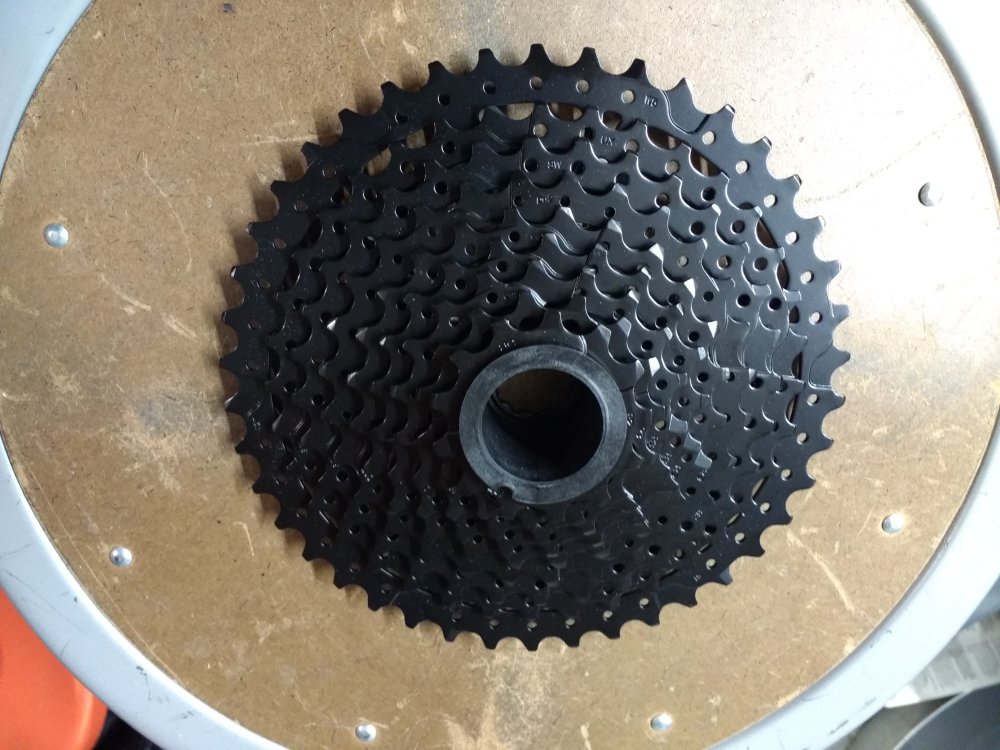
Top and bottom as delivered.


This is an example of a very worn 42t ring. The chainring shown in my previous post was installed and removed within a week of each other. Hard to believe.


A pic of the old set, and a pic of how to remove the cassette. Special tools like the chain whip and the freewheel tool (at the end of the wrench) are required. If you were careful like me, you have the old ring and spacers that were removed to accommodate the 42t (i think I removed a 17t). I put it all back together, so I can hand-me-down upgrade some older bikes I have.
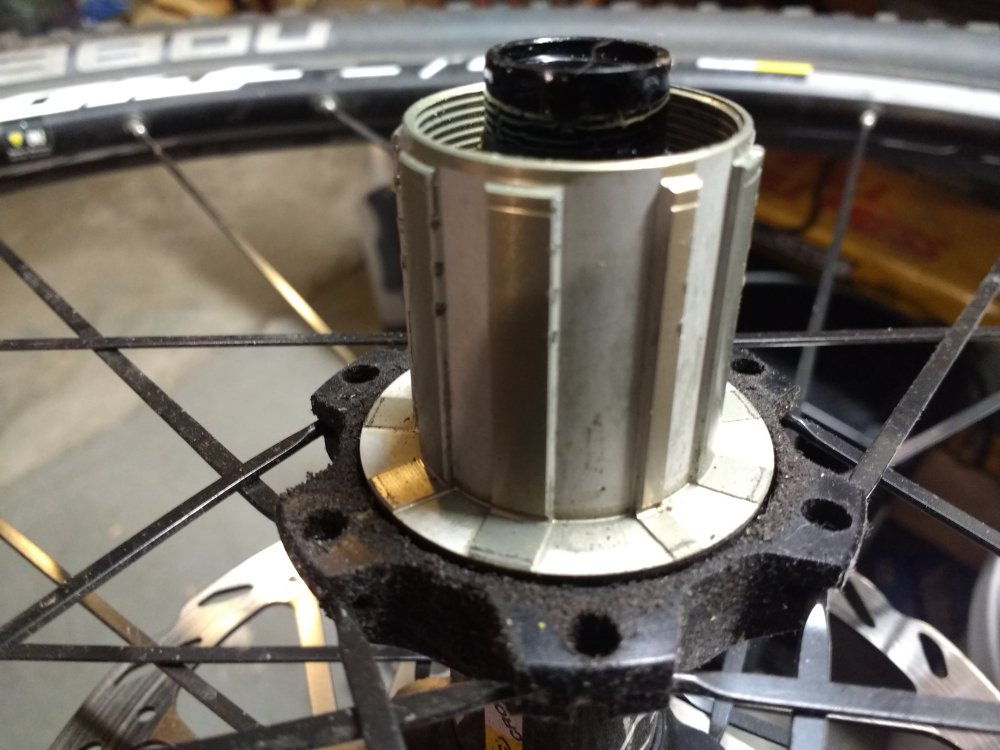
When the freehub assembly is exposed, inspect the splines. Notice the minimal pitting from the smallest rings on the cassette. They are not attached to each other, and have too small of a surface area, and therefore dig into the surfaces on the splines. Somebody aught to design a better solution.


The set comes in three sections, two spiders, and the loose, small rings.
 Rotate them until they fit. There is a plastic spacer between the smaller spider and the loose rings. one of the splines is thinner than the others, meaning there is a right way and a wrong way. Be careful.
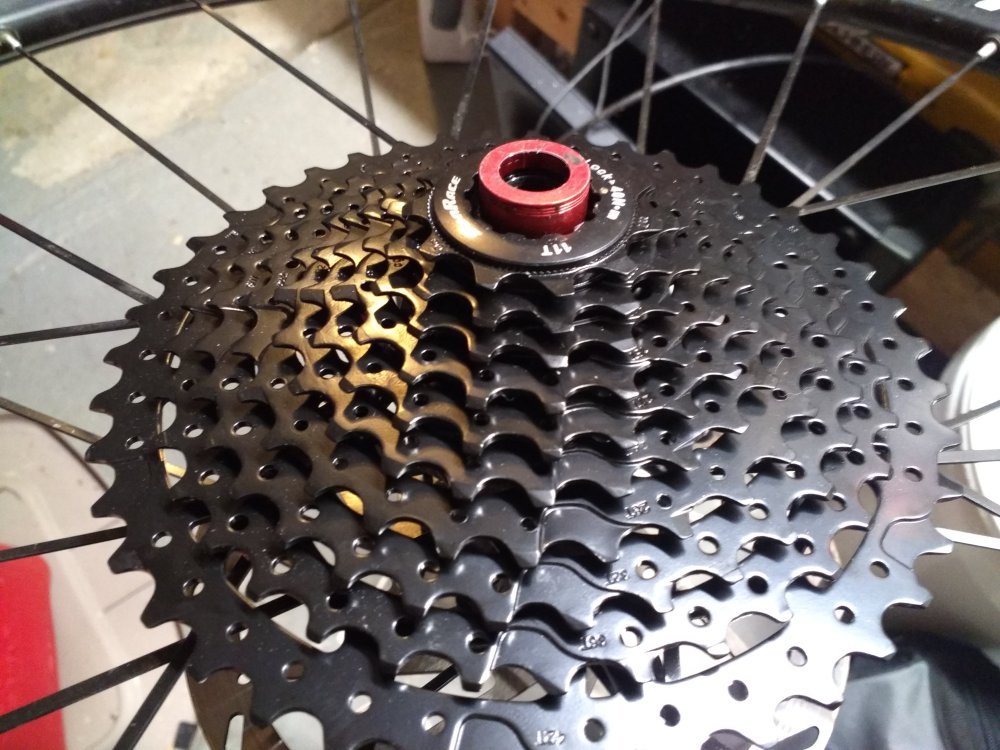
A picture of the assembled product, with the added red cap for my Mavic Crossride through axle wheelset.

Chain-wrap on the high-gear. Note that there is not a lot of room to take up any more chain. This derailleur is near its limit.
And of course, the low-gear. Full extension. I am told that with a derailleur-hanger extension, this setup can accommodate a 11-46. I think I will stick with what I have.

The close up of the final product. I had read that there were issues with the cogset causing the chain to derail to a smaller cog when backpedaling. I did not experience this.
The rings are all made from steel. It increases weight, but the aluminum spiders help maintain a reasonable overall weight. I have taken it on a couple of rides, with a grinding climb, and a fast downhill. It behaves as expected in all conditions.
The shifting seems to skip a little on the small, loose rings. This could also be due to my haste to get it put together and ride. And even with a little skip, it was very smooth.
The fit and finish seem to be good. We will see about the longevity.
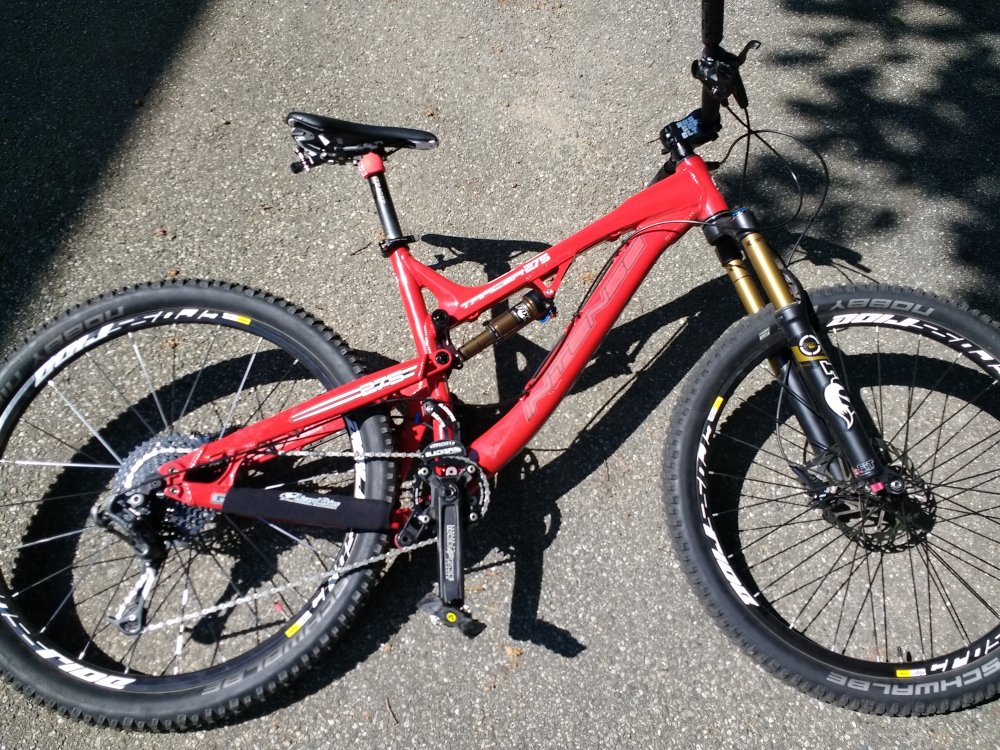
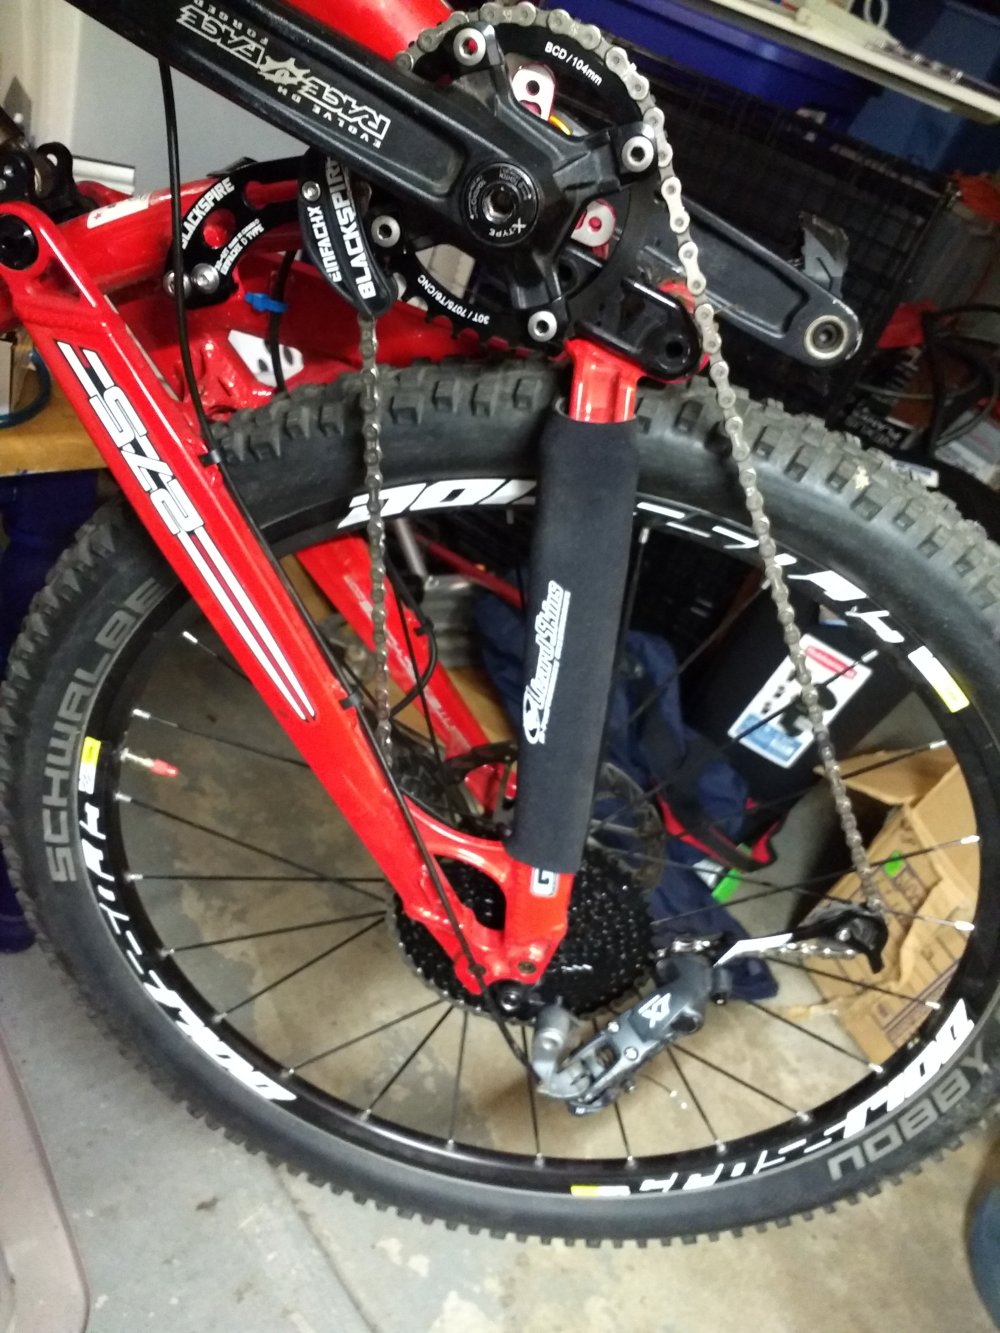
Here is a pic of my whole bike just for fun: